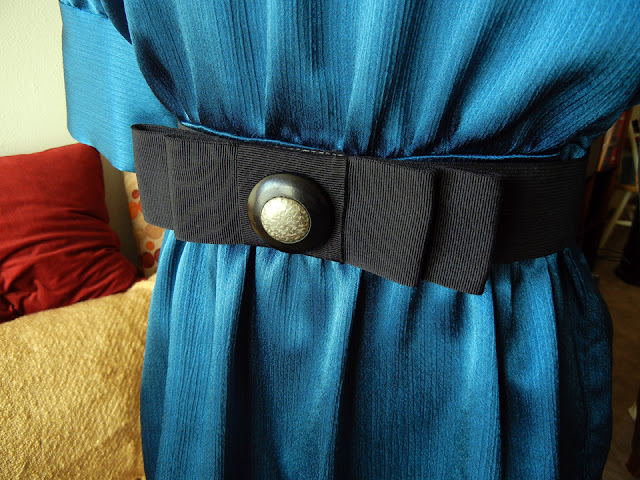
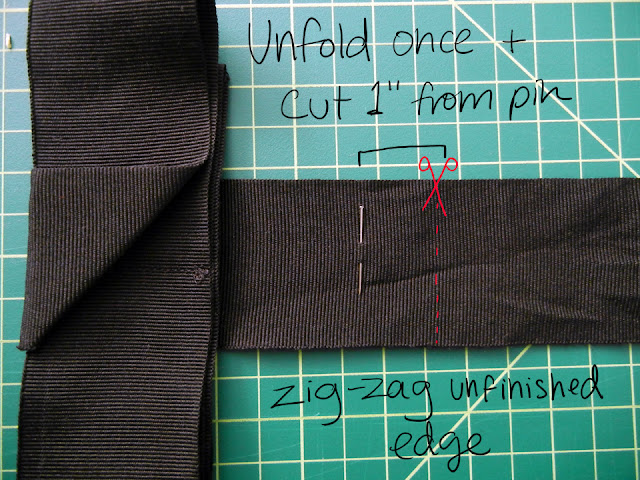
The last couple of weeks were pretty busy and that included me dying fabric for the first time, getting a new iPod that needed a home and finally getting around to finishing a skirt I started a few months ago.
The fabric dying came from a need to make a store bought pair of shorts turned skirt a little longer. I got these shorts from one of those teeny bopper stores, and they were very billowy. VERY unattractive as shorts, but the fabric was just GORGEOUS! gray with yellow flowers? yes please! So I decided to chop out the crotch and turn them into a skirt. Only problem was it turned out super short for my frame. So my first quest was to find fabric that was the right weight (easy) and right color (oh so difficult) to sew to the bottom. Of course, I didn't find the right color. Nothing came close, it was pretty disappointing. But then I came across the aisle with the dye. I've never ever dyed anything in my life (unless you count that one time I tie-dyed a t-shirt in girl scouts) and I don't really have the right tools to do stove top dying. I was too afraid to try it in the washing machine because I didn't want to risk ruining the machine, as we live in a rental.
Anyway, on to the pictures!
 |
| Before I dyed |
 |
| After I dyed |
As you can see there are some parts of the fabric that the dye soaked into more than others. This is the first time I tried, and I used a bucket instead of a pot on the stove, so It probably could have been better. Anyway, the brightest white fabric is what took the dye the best. The tan fabric doesnt even look like it changed when it's next to the bright yellow, but if you look at it next to the skirt... it does look at least a little yellow... But now I have to decide on which fabric will end up looking best with the skrit
 |
| tan turned yellowish |
 |
| white turned YELLOW |
Next up is my iPod case. Now I've never had to make anything this tiny that was functional and actually looked good. Before doing any research on how people usually go about making one, I attempted one on my own. People, it's not pretty. It's actually embarrassing, and I didn't even take a picture of it. It was such a miserable fail it was kind of a "what was I thinking" moment. My second try was MUCH better in comparison, but it was still lacking. I nailed it on my 3rd try. (third times a charm, right?)
In the first picture, I have the finished case (left) next to fail number 2 (right) and then more pretty shots of the lovely win :) As you can see, my goal was to be able to put the connector cable AND the headphones in the pocket. My first try had less than zero room and a lot of the cases I saw online or on etsy, also do not allow for storage of all the essential items. Why not I ask, why not?
Well that's all I have for today! Next time I'll either be telling you about the skirt that matches my iPod case, the shirt I'm making for Andrew (yeah, Peter's sew along went by so quick that I hardly had time to pick up my scissors and sew with him!) Or the dress I'm custom designing for my awesome sis-in-law Cathy. It's still in it's very early stages, but I plan on making lots of progress posts about how I went about making it. fun fun :)


